Followers

Monday 30 October 2017

Hydrangea Lawns Fussy Cut Layout!

Hello everyone! Happy Sunday! I have a brand new post today to share with all of you! 
I'm sure by now you all have tried the Gorgeous oh soo Beautiful paper pad by Dress my Craft- Hydrangea lawns! And the latest collection to the Hydrangea lawns collection are the Motif sheets! 
Such pretty coordinating images that you can fussy cut and add to your projects! 
I just love them! So I thought why not create something with them to Inspire you all! 
Here's a sneak peek of the project! You'll see the complete layout at the end of the post!


So without much ado lets get started!

I've taken this print from the paper pad trimmed it down a lil and adhered it to a white chipboard sheet. Next ligtly cover the base with clear gesso. This will protect the print and prime the surface so that one can use paints and sprays on top without the base print disappearing. 


Next I created the photo mats and fussy cut all the elements! See how beautiful they look! 

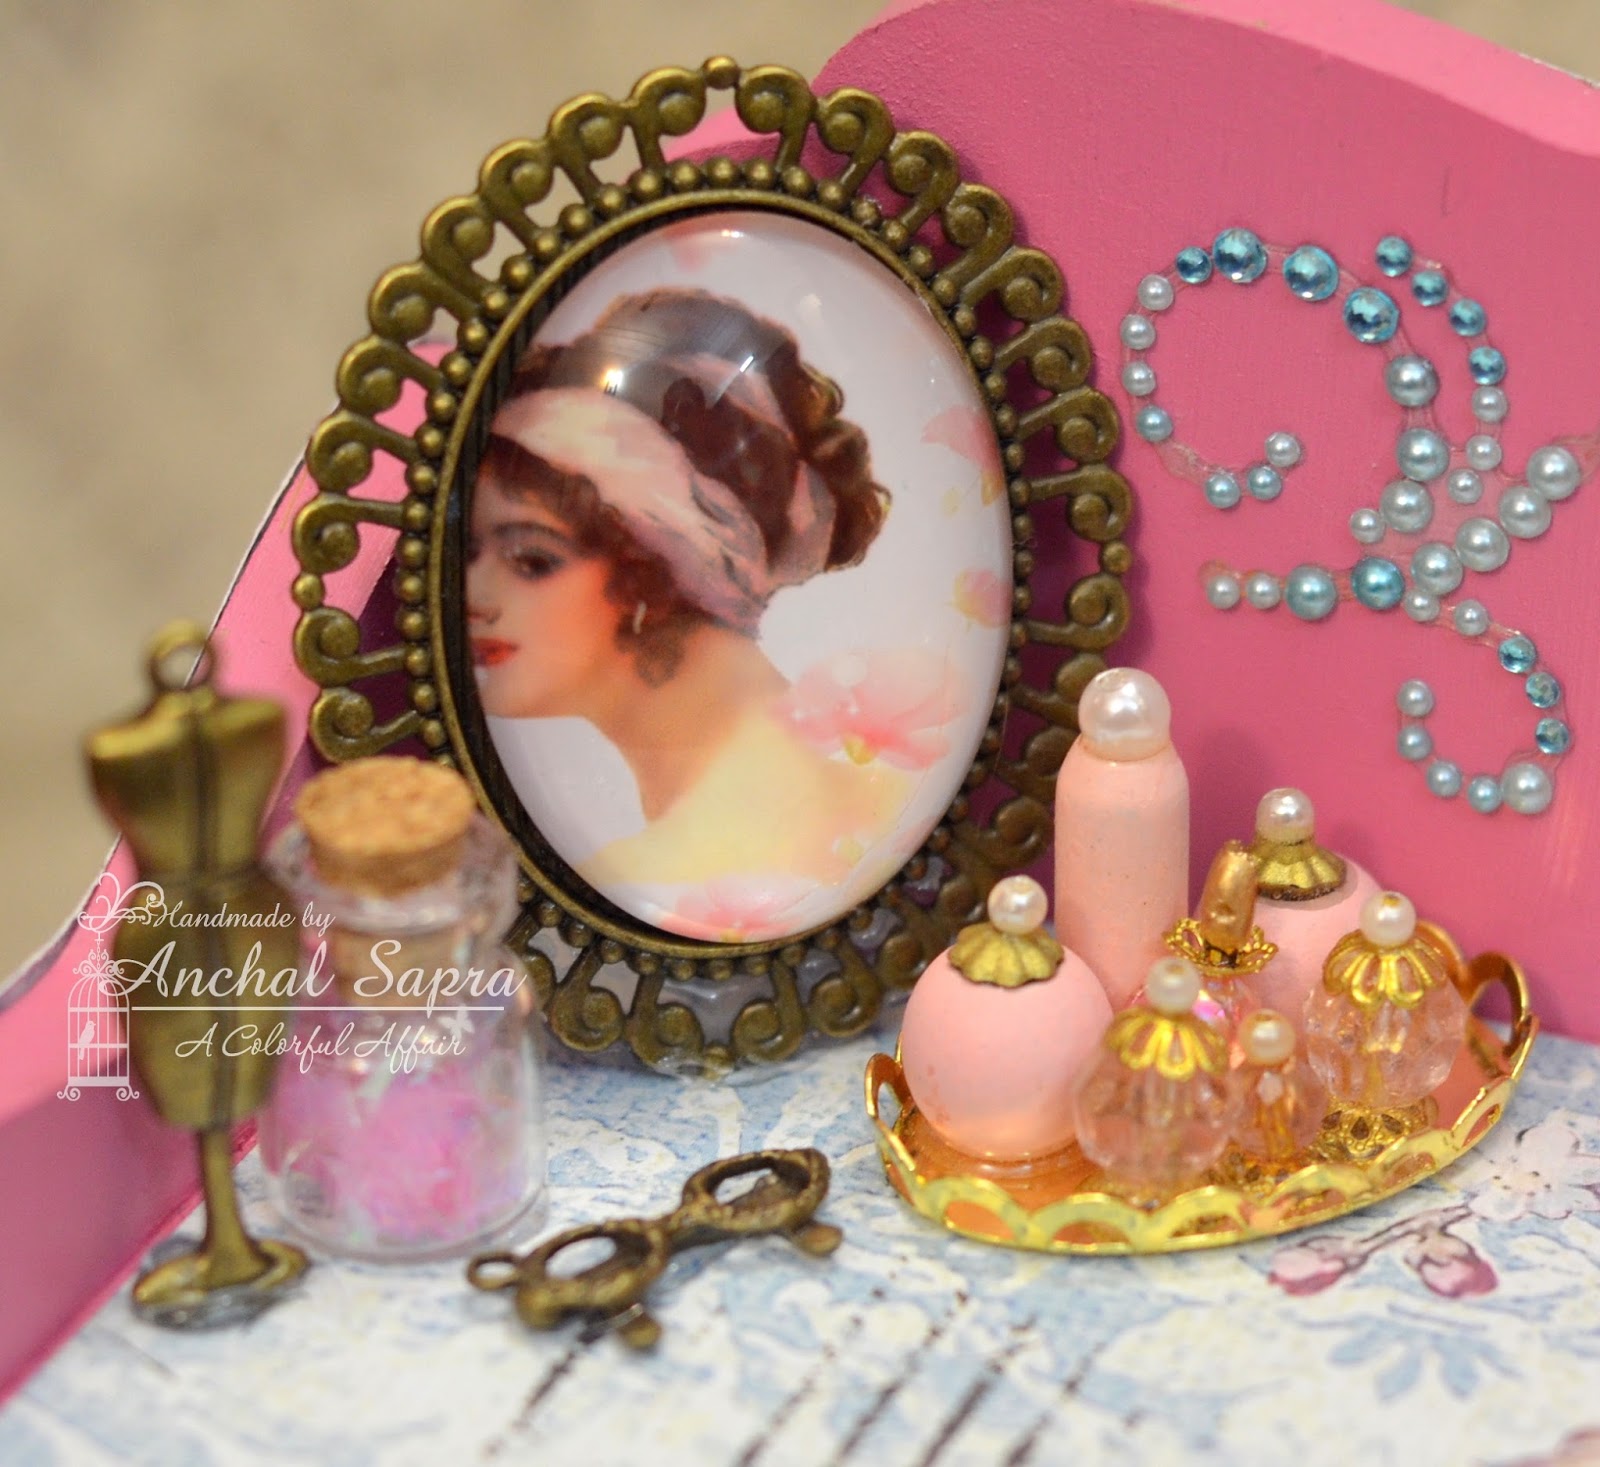
Here's a close up of some flowers!

They are soo Gorgeous! 


Next I've added the photo mats and a small fussy cut piece from the paper pad so it fills up all the gaps my fussy cut pcs will leave, I've also added some metallique wax to the base. The sheen is gives can only be seen in person! The camera doesn't capture it at all!

Next I've added some stone effect paste- Pumice to the base to create some texture!


Arranged and adhered all the die cuts! It looks so beautiful! And its so easy and quick!

Lastly for finishing touches I've used some watercolour paints, Glitter flakes and some more fussy cutting pieces from the Motif sheets! 


Hope you all enjoyed todays post! 
Please feel free to ask any questions!
Love
Anchal Sapra


       PRODUCTS USED
  1. Hydrangea Lawns - 12"X12" Paper Pad
  2. Hydrangea Lawns Motif Sheet
  3. Stone Effect Paste Set 3.38oz Each
  4. Tonic Scissor 7 inch
  5. Glossy Accents Precision Tip 2oz


Thursday 26 October 2017

Cuppa LOVE!

Helloo...Rupa here and on this Thursday I am sharing DIY home decor/utility project for your kitchen!
It's no surprise that I would be upcycling something and this time it's the empty liquor carton! I am always in awe of these packaging boxes, so sturdy and wonder always that if it can keep a bottle secure inside, it can pretty well keep anything else, what say???

...And so, I cut the carton in half and made it into this!


 I decided to make it Vintage and used my new Graphic 45 French Country Stack papers! I love the country style patterns in lovely fall colors and it has a vintage feel to it.


The papers speak for themselves! I inked them all with Walnut stain DI.
I chose 2 coordinating papers from the stack to cover the outside and for the inside used a green PP from DCWV.


The base and the lid was made using heavy chipboard and adhered some bottle caps here as feet. I painted them using chalk paints from Plaid(Imperial) and have inked the edges with Archival black ink.


Around the base is a lovely grass hedge. I have used IO dies for this. This gives a closed garden feel!

I have embellished the lid again in fall colors, (well, its bright and sunny here! I decided to pick the sun flowers from the PP and made them using CLD sunflower die. The leaves are using CLD tropical leaves set.


The cups are stamped on text paper using Hot off the Press stamps and the sentiment too. The cups along with the flowers lend warmth to this project and definitely cheers you up first thing in the morning when you reach out to make your tea...right???

As you turn the box around, I have clipped an Ideology paper clip using a brad. Some paper scraps with inked edges hang on the back side for those eureka moments after sipping your favorite cuppa! I din't want to waste any space in this box, lol!


As you open the lid, you can stack up the tea sachets and then pull them out one at a time, from the base! Why would you buy a dispenser when you can make one now to your taste...Cheers to that!


Well, that's as easy as it can get...I am an avid recycler and I urge you look around your house to see what you can work on!

I will see you soon with an another interesting diy.

Until my next creative journey,
Happy crafting and recycling.
Cheers,
Rupa


Tuesday 24 October 2017

Miniature Mania!

Hello everyone! How are you all doing? I am soo excited for today's post! Recently Dress My Craft brought in a whole new range of Miniatures! This is a collection that will always be very close to my heart! Thanks Shalini di for getting them! And the reason its so special is cause of the overwhelming response I got from all of you! So many facebook messages, whatsapp messages,calls asking me when will I be posting projects with these miniatures, Enquiring if I bought them, asking if I will use them! Will I take classes and teach my projects! And yessss I got all of them on the very first day! And I absolutely love all of them! What an amazing variety and excellent prices!  
So let me talk about the miniatures first. What we have in store are very high quality miniatures, the sizes are perfect for a 1:12 doll house, We have everything available fro kitchen theme to gardern to living rooms. We have sofas, tables, cabinets and all the decoration too - Gramaphone, candle stands, grandfather clocks and what not! 

Check the collection HERE 

Now as I got so many messages there was one question that everyone wanted an answer too.. Well are these miniatures just limited to dollhouses and shadow boxes and miniature scenes. NOPE they are so versatile it just depends on how you want to use them! And I do have some inspiration for you down below! I have used them in various drawers, explosion box and they look gorgeous in the danglings for an album, the windows make a gorgeous album cover! I will be coming up with more inspiration for all of you this week! Till then sit back n see this post! Hope I'm able to inspire you to try your hands at these cuties! <3


First is this set of two drawers, I've used multiple miniatures on this one.. Assembling various charms and embellishments from the store! 

Do you see how adorable that grandfather clock looks! And those books and the eiffle tower! 


Next I have an explosion box for all of you with the super cute letter box! I feel this is perfect for birthdays and anniversaries and the best part is its functional! You can drop in a letter from the top! 


Isn't it absolutely adorable! 

Next I have a super cute Graden scene! 

I've created the arch with wire and pollens and the super cute bird is also from our store! 


The bicycle looks soo cute and grunge! 


I've used some mulberry flowers for this one! 

Next I have another set of drawers! Shabby chic style

Do you see those adorable bottles! I mean who would not drool over such cuteness! 


And tadaaa Finally I have a shadow box kitchen scene! 

I've made this cabinet using 2 diff pieces from this cabinet set this set is so versatile you can use these pieces individually as well as mix and match and make bigger cabinets! 


Here are the close ups, the super cute tea set to the coffe tea containers, 


I've painted and used wax on this wooden panel and make a small wreath using some mulberry flowers! 

These flour bags are soo cute! 


Hope you all enjoyed today's post! Please feel free to ask any questions! And do tag me up in your inspired posts on facebook! I would lovee to see your creations! 

Love
Anchal Sapra


Monday 23 October 2017

Dress My Craft with Graphic 45 3D Miniature Projects

Hello Crafty lovers, how can time be going so fast????? October ending...just 2 more month...Less than 80 days for new year??? Dont you want to make some gifts....Miniature gifts??? Lots of cute miniature are available +Crafters Corner . Order now, before going to out of stock......Today I’m sharing a project... A 3D projects again with Dress my craft minis & Graphic 45 Products :-). How is it possible..... R8?

Look at here 


I have a huge Snaps tutorial on how to create this cute miniature gifts for yourself :-). I'm really bad in explanation. So check out my pics....Lol

Project 1
G45 Staple Mixed media box 5X5 inch size
G45 Cafe Parisian 12X12 paper pad


Dress My Craft Miniature Wooden Window


I found this window is perfect fit here


Inside the G45 box you will find the 6 Sturdy card stocks. Using that i made a small album by attaching paper strips.


Next is just attaching the pattern papers on all sides of the box.


Here i made shades for my miniature box. To get more miniature look. And add a piece of lace.


To decorating front cover of box, need more cute stuffs. And i used G45 Botanical Garden embellishments, Dusty attic chipboards, flowers, & beads.


Finally it comes 


Project 2 :Altered Canvas

5X7 Canvas 


8X8 Portrait of Lady paper pad  


I'm just covering the stapler pins by adding G45 papers on all sides.


These Dress my craft Miniatures are giving more finishing look. 


When i'm adding side windows, i use 3 layer of form tape and i glued these window with almost 40 degree angle.


Finally its comes 
Back canvas 

Front Canvas 


Okay that’s all for me. Wishing you all a happy and productive day with lots of time to be creative : )
 
Hugs  
Suz 

 
Supplies Used
Graphic 45 Alterable boxes
Graphic 45 Pattern Paper Pads
Miniature Accessories
Micro Rose Flowers
Mulberry-flowers-leaves
Graphic 45 paper-embellishments
Adhesives tapes-tools
Paper Craft tool
Dusty Attic Chipboards
Polish-wax Prima Marketing