Good morning...
It's the last Thursday of this month and I am also in the last leg of my summer vacation!
I have my project share and tutorial today with a PLAID stencils, Chalk paints and Liquid leaf (silver) .

I have up cycled an empty packaging here and tired to play with chalk paints and the silver paint to give a brushed metal look.

Here is the step by step...
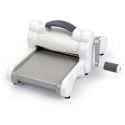
First sand the box using PLAID sanding block. This helps in removing the glossy fiish of the box and makes it ready for the next step.

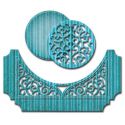
I have used the PLAID stencil (Alibaba) and texture paste to create a border design on the base and all around the box. This stencil in particular has some wonderful border design

To get an even pattern all around, I have used the stencil adhesive. This is so quick to sue and ensures that your stencil does not move! A must have for those who work with stencils...just apply, wait for a minute for it to be tacky and then place the stencil on the surface. It sticks well and then can be easily removed.

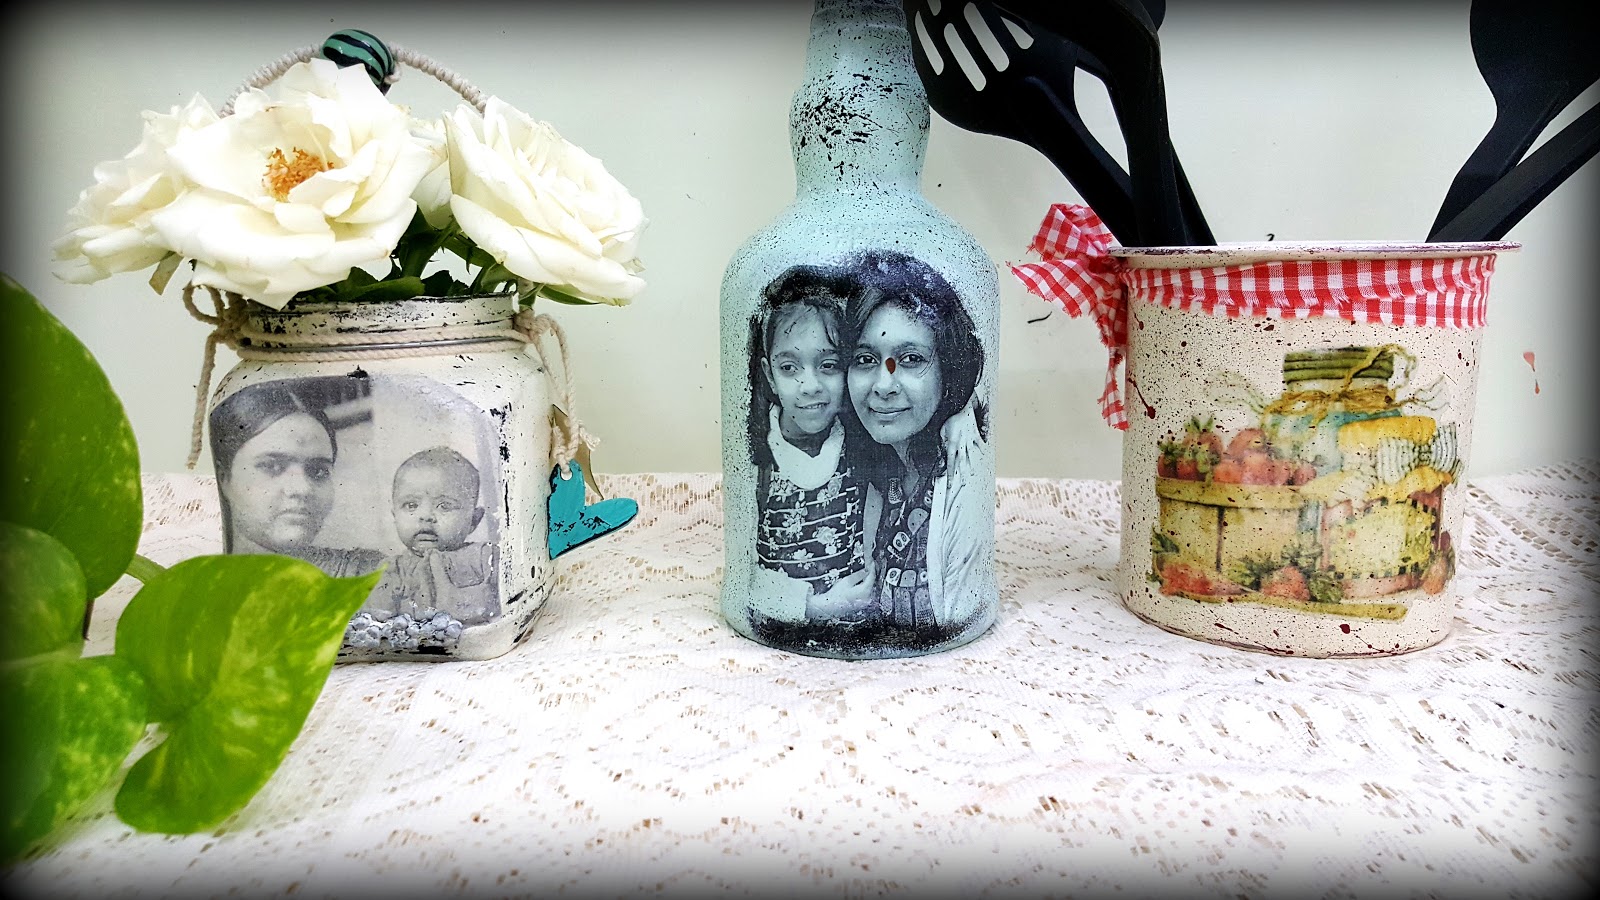
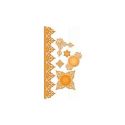
Here is my other project using the same.
I also did some dry embossing on white card stock and have stuck it on the top of the along with dry wall tape to give some texture and dimension.

Next, I have covered the entire box with a nice thick coat of Home decor Chalk paint( nautical) .

It is a lovely blue, I am sure you will agree.

At this point you cannot see much of the texture. The paint dries very quickly.
Next I took some plastic bottle caps and covered it with the silver Liquid leaf. This is a solvent based paint and very rich pigmentation. It adheres beautifully to any surface like glass, metal, wood, plastic and paper too! And most importantly, dries fast too!

Next I take a flat brush and load the bristles with silver paint and do dry brushing all over the box.

This way all the raised and textured areas get highlighted and the end result is here!
I love how the box has a brushed metal look and the subtle silver highlights on the blue makes it a lovely combination. Dont the bottle cap legs look beautiful???

I added s hand made paper tassel to the font and now it is ready for its second lease of life!
here are some more pics in different angles.

You can see how the textures are visible and the modge melt button on the top looks like a gem!

I hope you give this Liquid leaf a try and not to forget the Stencil adhesive which can help keep your stencil in place while working!
Look forward to hearing your feedback and I will see you next Thursday with another PLAID play.
Until my next creative journey,
Happy crafting and recycling.
Cheers
Rupa
It's the last Thursday of this month and I am also in the last leg of my summer vacation!
I have my project share and tutorial today with a PLAID stencils, Chalk paints and Liquid leaf (silver) .
I have up cycled an empty packaging here and tired to play with chalk paints and the silver paint to give a brushed metal look.
Here is the step by step...
First sand the box using PLAID sanding block. This helps in removing the glossy fiish of the box and makes it ready for the next step.
I have used the PLAID stencil (Alibaba) and texture paste to create a border design on the base and all around the box. This stencil in particular has some wonderful border design
To get an even pattern all around, I have used the stencil adhesive. This is so quick to sue and ensures that your stencil does not move! A must have for those who work with stencils...just apply, wait for a minute for it to be tacky and then place the stencil on the surface. It sticks well and then can be easily removed.
Here is my other project using the same.
I also did some dry embossing on white card stock and have stuck it on the top of the along with dry wall tape to give some texture and dimension.
Next, I have covered the entire box with a nice thick coat of Home decor Chalk paint( nautical) .
It is a lovely blue, I am sure you will agree.
At this point you cannot see much of the texture. The paint dries very quickly.
Next I took some plastic bottle caps and covered it with the silver Liquid leaf. This is a solvent based paint and very rich pigmentation. It adheres beautifully to any surface like glass, metal, wood, plastic and paper too! And most importantly, dries fast too!
Next I take a flat brush and load the bristles with silver paint and do dry brushing all over the box.
This way all the raised and textured areas get highlighted and the end result is here!
I love how the box has a brushed metal look and the subtle silver highlights on the blue makes it a lovely combination. Dont the bottle cap legs look beautiful???
I added s hand made paper tassel to the font and now it is ready for its second lease of life!
here are some more pics in different angles.
You can see how the textures are visible and the modge melt button on the top looks like a gem!
I hope you give this Liquid leaf a try and not to forget the Stencil adhesive which can help keep your stencil in place while working!
Look forward to hearing your feedback and I will see you next Thursday with another PLAID play.
Until my next creative journey,
Happy crafting and recycling.
Cheers
Rupa